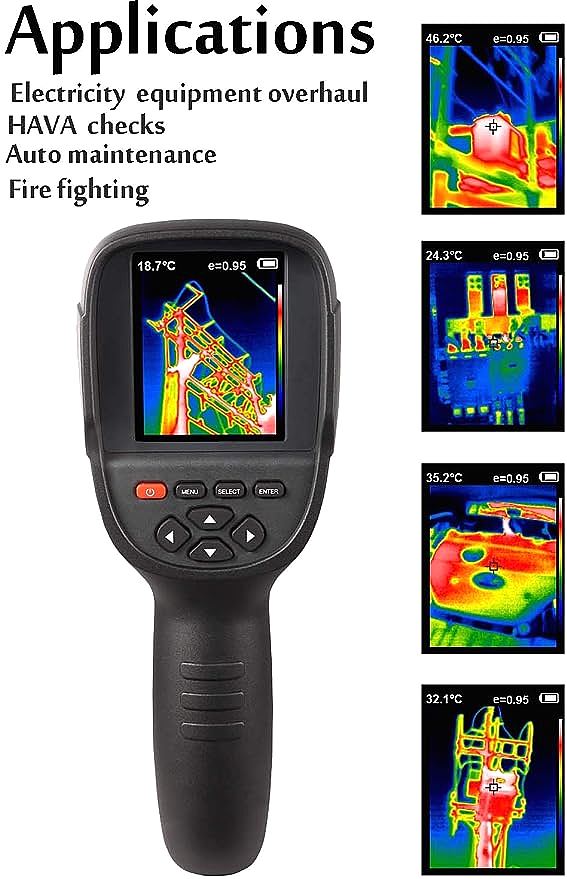
PCB Fault Finding with a Thermal Camera: A Professional's Guide
Update on Oct. 19, 2025, 5:26 p.m.
In the world of electronics repair, we have our trusted companions: the multimeter for checking continuity, the oscilloscope for observing waveforms, the logic analyzer for decoding data. Yet, every technician has faced the “diagnostic dark zone”—a faulty PCB where all the usual tools come up short. It’s a board with a dead short that trips the power supply instantly, or an intermittent issue where a component fails only after it warms up. Probing around with a multimeter becomes a frustrating game of whack-a-mole. This is where a new class of tool isn’t just helpful; it’s revolutionary.
A thermal imaging camera gives you a superpower: the ability to see the direct physical manifestation of electrical energy—heat. It transforms the entire circuit board into a live, dynamic map of power distribution. Faults that were once invisible, like a hairline solder bridge or a dying capacitor, suddenly scream their location in bright yellow and white. This guide is for the professional. We’ll move beyond simply looking for “hot spots” and into the art of using thermal imaging as a systematic, indispensable tool for rapid and accurate PCB diagnosis.
The Setup: Creating a Controlled and Effective Test Bench
Garbage in, garbage out. A successful thermal diagnosis begins with a proper setup.
* Power Source: Use a current-limited, variable DC power supply. This is non-negotiable. It allows you to inject voltage into a shorted board at a very low, safe current, preventing further damage while still generating enough heat to be seen.
* Viewing Angle: Position the camera directly above the board (perpendicular) to minimize perspective distortion and reflective errors.
* Emissivity - Forget Absolute Temps: A PCB is a patchwork of different materials (FR-4 substrate, solder mask, IC packages, metal pads), all with different emissivities. Chasing accurate temperature readings of each component is a fool’s errand. Instead, set your camera’s emissivity to a general “matte surface” value (around 0.95) and focus entirely on relative temperature differences and anomalies. You are looking for the component that is hotter than it should be compared to its neighbors. For this, a high-contrast grayscale or “Iron Red” palette is often superior to a full rainbow palette.
Core Diagnostic Techniques for the Pro
Technique 1: The Golden Board Comparison
The most powerful method, if available, is to compare a faulty board against a known-good “golden” board.
1. Power both boards with the same voltage and let them run for a minute to reach a stable operating temperature.
2. Capture a thermal image of the golden board. This is your “thermal fingerprint”—the expected heat signature of a healthy circuit.
3. Now, capture an image of the faulty board.
4. Flick between the two images. Any deviation will immediately pop out. A component that’s cold on the faulty board might not be receiving power, while one that’s excessively hot is likely shorted or under severe stress.
Technique 2: The Power-Up Snapshot & The “Alcohol Trick”
This is your weapon against dead shorts. A direct short to ground will cause a huge current draw, and your power supply’s protection will kick in instantly. The heat generated is intense but incredibly brief.
1. Set your power supply to a low voltage (e.g., 1V) and limit the current to a safe level (100-500mA).
2. Point the thermal camera at the suspect area of the board.
3. Have one hand ready to apply power for just a split second while you observe the camera’s screen.
4. The location of the short will appear as a pinpoint of intense heat for a fleeting moment. A camera with a decent refresh rate is key here.
* The Pro Move: The Alcohol Trick. For extremely subtle shorts, lightly mist the board with 99% isopropyl alcohol (IPA). When you apply power, the shorted component will heat up and the alcohol will instantly evaporate from that single spot. This visual cue is often easier to see on the thermal camera than the heat itself.
Technique 3: Reading the Thermal Bleed - Understanding Heat Gradients
A hot component doesn’t exist in isolation; it heats up the copper planes and surrounding components. Learning to read these gradients is crucial.
* The Epicenter: A true short circuit will almost always be a very small, very hot point—the epicenter of the heat. The heat will then “bleed” outwards into the surrounding copper.
* The Deceptive Neighbor: A large power IC will naturally get warm and heat up the board around it. A small, nearby component might appear hot simply because it’s being cooked by its neighbor. Look for the component with the sharpest, most defined thermal signature—that’s usually your culprit. Be mindful of multi-layer boards where a hot spot on the surface could be an indicator of a problem on an inner layer directly below.
Case Files: Interpreting Thermal Signatures
- Dead Short: A tiny, intensely bright spot that appears instantly on power-up.
- Leaky Capacitor: A capacitor (especially tantalum) that is visibly warmer than identical capacitors next to it under normal operation.
- Stressed IC: An entire IC package glowing brightly, often indicating an internal fault or that it’s being overloaded by another part of the circuit.
- Bad Voltage Regulator: The regulator itself is extremely hot, while the components on its output rail may be unexpectedly cool (as they aren’t receiving the correct voltage).
Conclusion: Integrating Thermal into Your Core Workflow
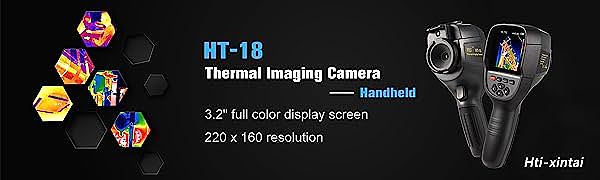
A thermal camera, like the handheld Hti-Xintai HT-18 or similar models, doesn’t replace your fundamental electronics knowledge. It enhances it. It’s a non-contact, board-wide, instantaneous voltage-to-heat converter that directs your attention with surgical precision. It takes the guesswork out of finding physical faults. By mastering these techniques, you move from probing blindly in the dark to diagnosing with a clear, intuitive, and incredibly efficient vision. You’ll solve problems faster, reduce the risk of further damage, and wonder how you ever worked without it.


